How to sell event photos online: the QR code and selfie method
Guests can't buy photos they can't find. Here's a five-step way to get every guest to their own photos on the day, and get paid directly.
9 min read
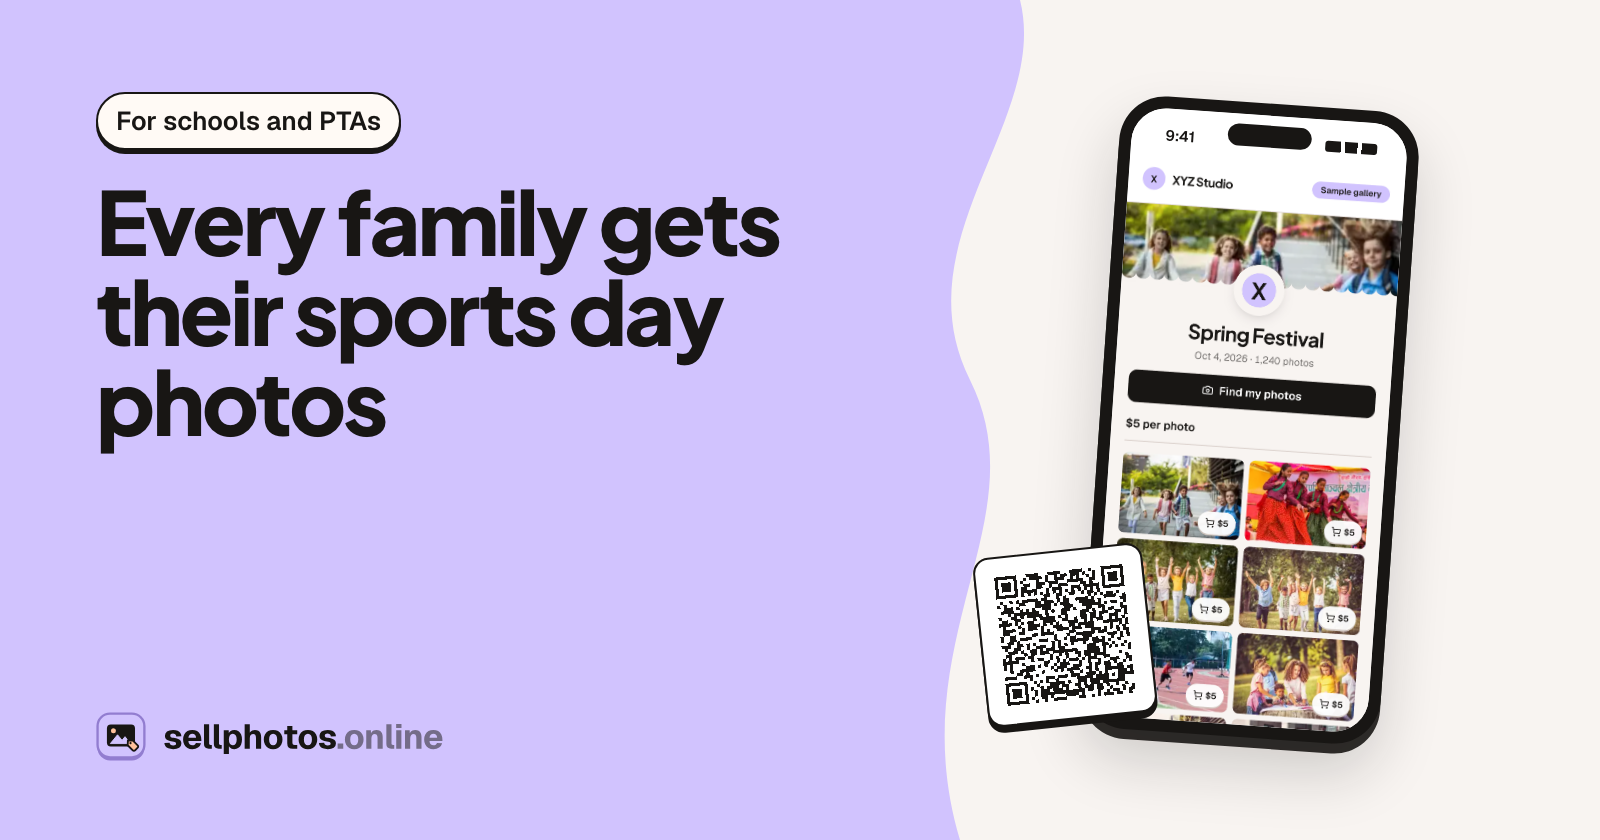
You shot the whole sports day. Twelve hundred photos, most of them good, some of them great. A week later you've sold eleven.
That isn't because nobody wanted them. Every parent at that sports day wanted the photo of their kid crossing the line. They just never found it.
This guide is about closing that gap. It's a simple method that works for school events, convocations, races, club tournaments, community festivals and trade shows: put a QR code where guests already are, let them find their own photos with a selfie, and have them pay you directly. Below is the method step by step, how to price, where to put the code, and a checklist for the day.
Why event photos go unsold
Most event photographers lose sales in the same three places.
1. Guests can't find themselves. A gallery of 1,200 photos is a wall. A parent will scroll for a minute, maybe two, then close the tab. The photos they would have paid for are on page 31.
2. The link dies. You send a shared Drive folder to the organiser, who forwards it to a WhatsApp group, where it sits under 140 other messages. By the time someone opens it, the event is a week old and the excitement has gone. People buy photos while the event still feels recent.
3. Paying is awkward. "Message me the photo numbers and I'll send you my bank details" is a conversation most people never start. Every extra step loses buyers.
A good selling setup fixes all three: the gallery opens from something guests already have in their hand, it shows each guest only their own photos, and paying takes a minute.
The method in five steps
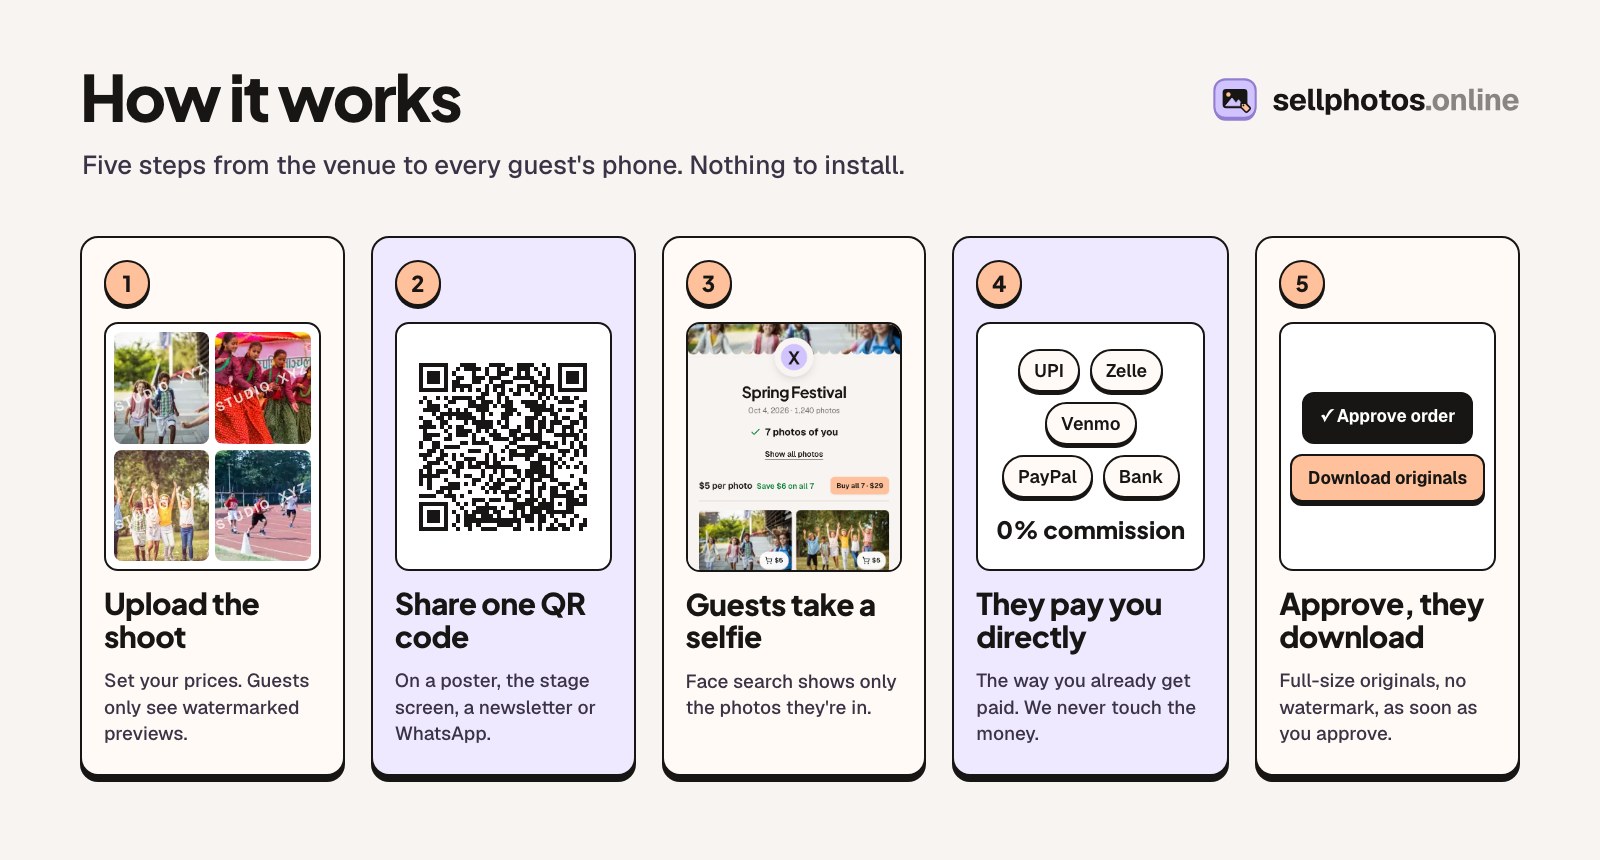
Step 1: Upload the shoot
Create one event per shoot and upload the clean originals. Set your watermark once. Buyers only ever see watermarked previews; the originals stay private until you approve an order.
Two habits help here. Upload the same evening if you can, even if you're still culling. A gallery that opens while people are still talking about the event sells better than a perfect gallery a week later. And don't hold back the "ordinary" frames: the slightly soft photo of a grandmother clapping is the one her family will buy.
Step 2: Share one link or QR code
Every event gets a link, a short event code and a print-ready QR code. That one code is your whole distribution plan. You don't need a different link per person, and guests don't need an account or an app to open it.
Where you put it matters more than anything else in this guide, so there's a full section on it below.
Step 3: Guests find their photos with a selfie
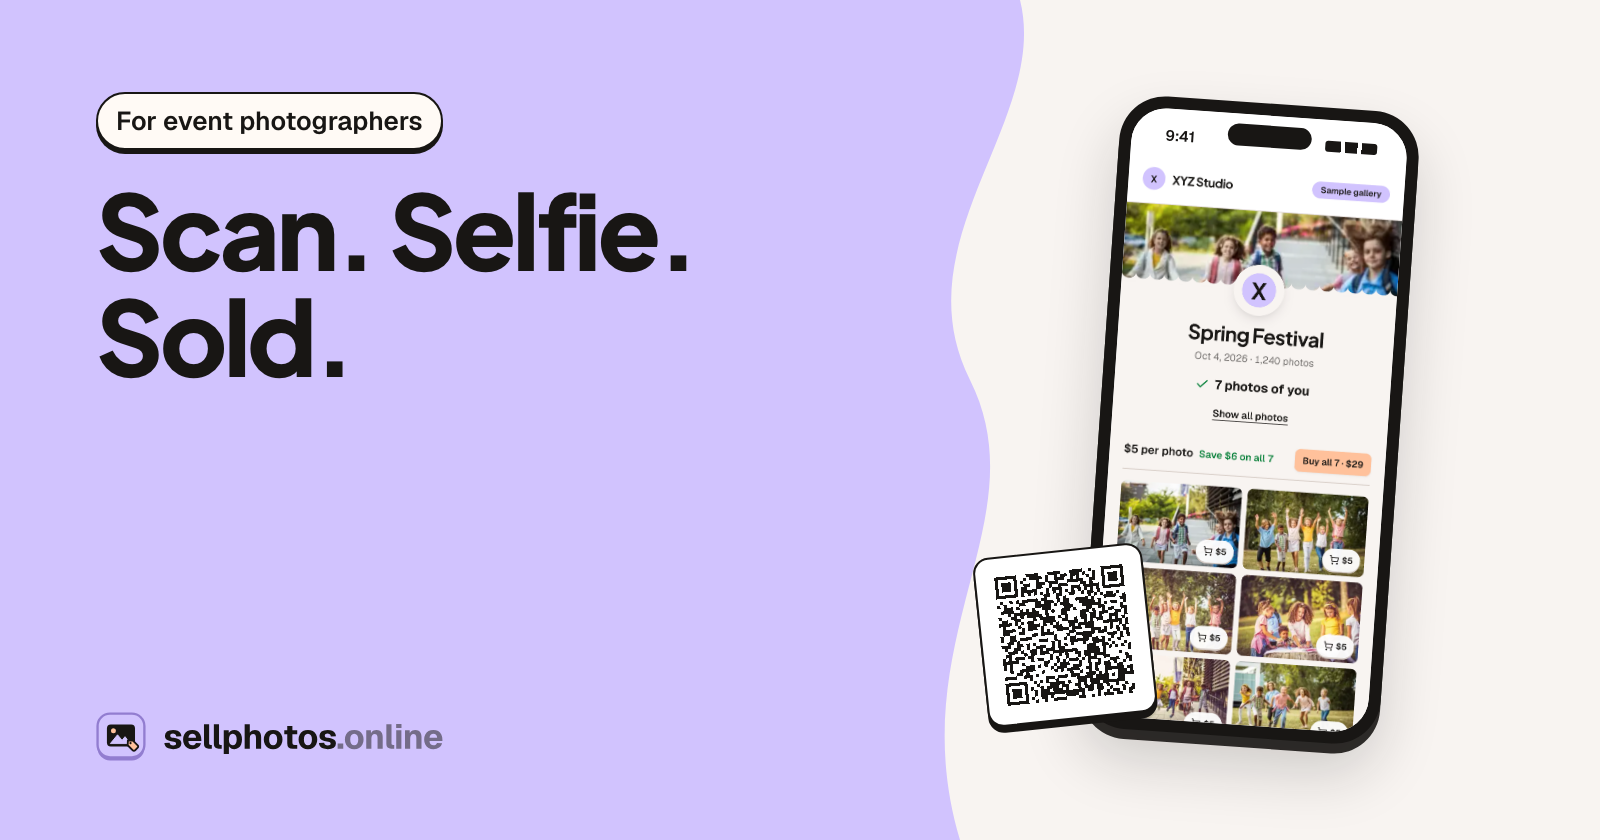
The guest scans the code, the gallery opens on their phone, and they tap Find my photos. They agree to a short notice, take a selfie, and face search shows only the photos they're in. One selfie turns 1,240 photos into the 7 that matter to them.
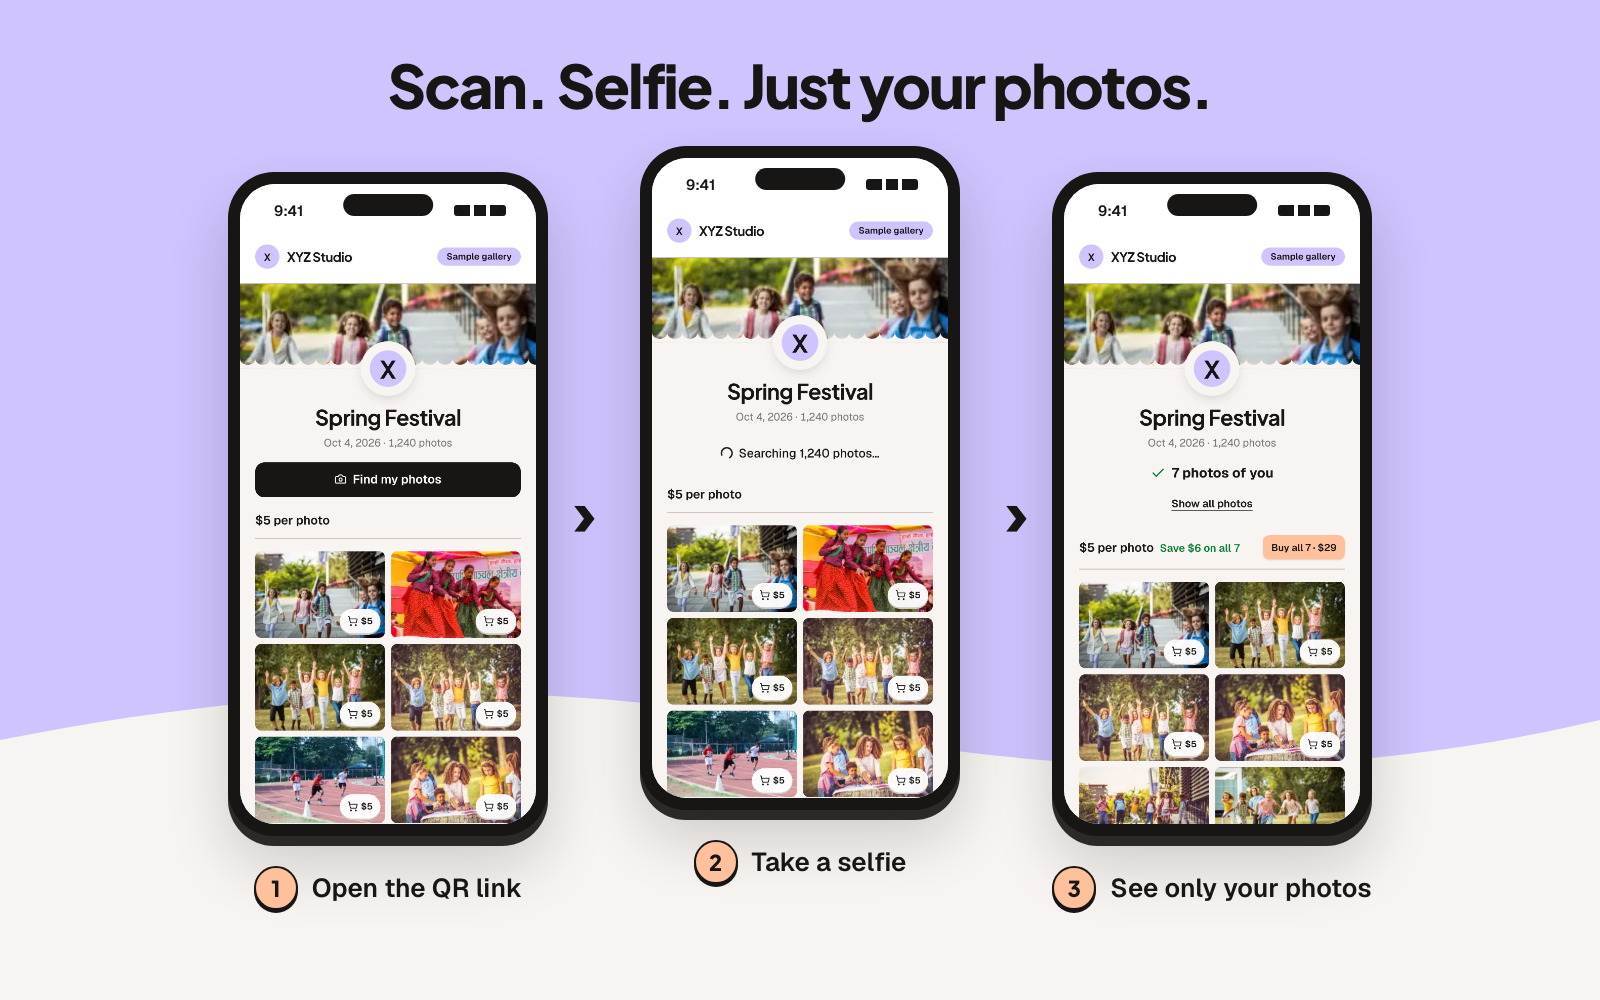
If you'd rather they scroll, or the event isn't right for face search, you can switch it off per event. More on that in the FAQ.
Step 4: They pay you directly
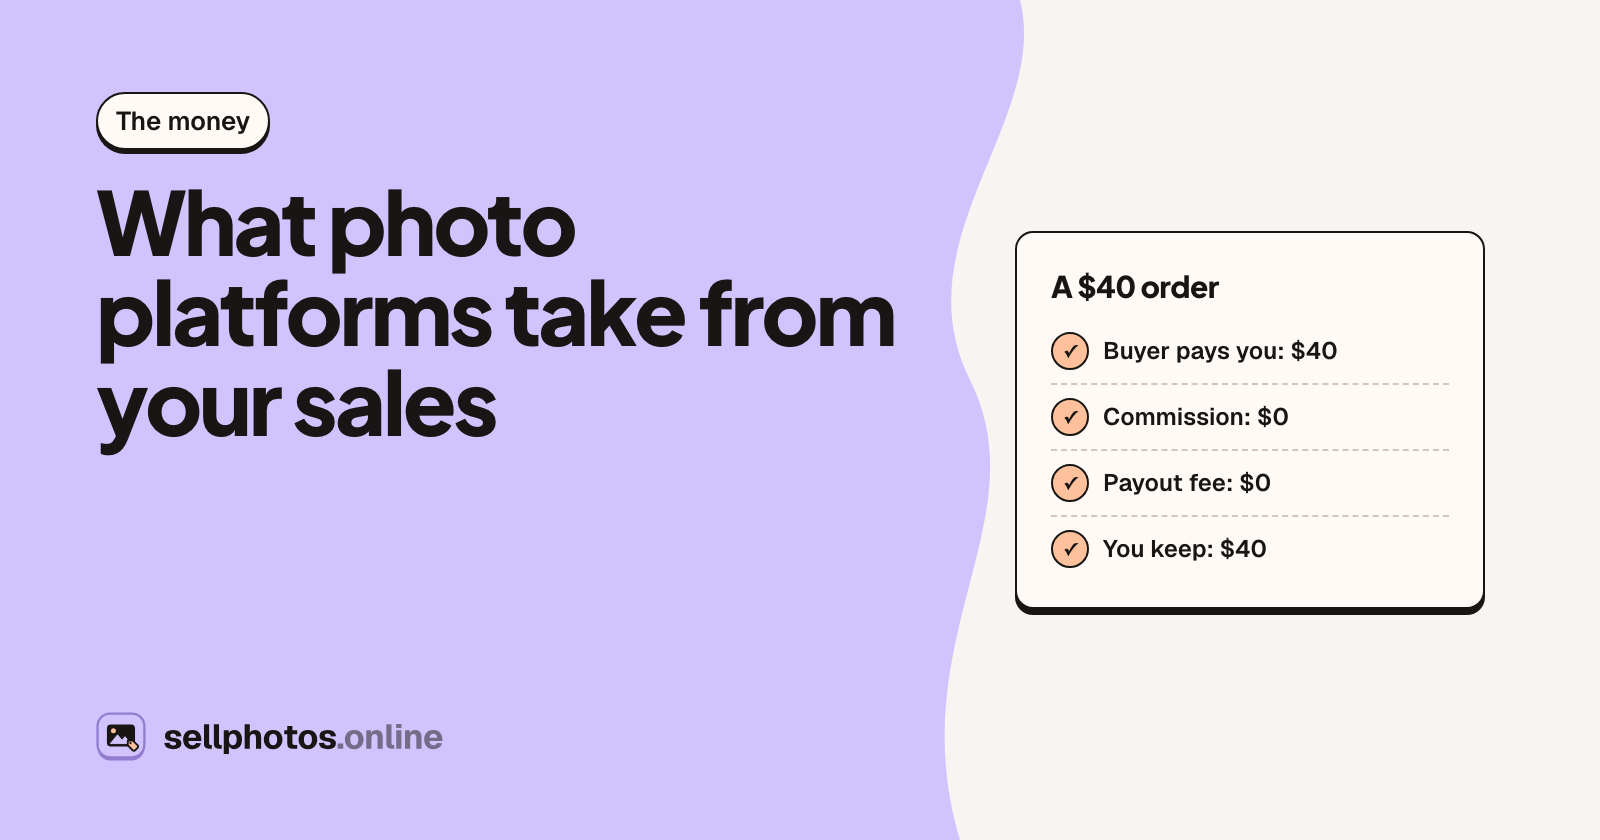
At checkout the buyer sees your payment details: UPI, bank transfer, PayPal, Zelle, Venmo, or whatever you write there. They pay you, then upload a screenshot of the payment. The money goes straight from them to you. No platform takes a cut, and you don't wait for a payout.
Step 5: You approve, they download
You check that the money arrived, then approve the order. The full-size, unwatermarked originals unlock and the buyer downloads them. Every step sends the buyer an email with your reply address on it, so questions come to you.
If you want to see what your guests would see, open the sample gallery on your phone. It takes about thirty seconds and needs no sign-up.
How to price event photos
There's no single right price, but there is a right structure. Offer three ways to buy, so every kind of guest has an option.
- Per photo. For the guest who wants one frame for their wall.
- All my photos. One price for every photo a guest's selfie matches. This is usually your best seller, because it removes the "which ones?" decision. (It needs face search on.) If you upload more photos of that guest later, their order picks them up.
- Whole event. For organisers, teams, families with three kids in the event, or the school's own archive.
You can also run an event as free downloads: guests still find themselves with a selfie, they just don't pay. That suits a sponsored event, a client who has already paid you a fee, or your first event with a new organiser.
A worked example
These numbers are an example, not a benchmark. Plug in your own.
Say you shoot a school sports day with 400 students and upload 1,500 photos. You set:
| Option | Example price (USD) | Example price (India) |
|---|---|---|
| Per photo | $5 | ₹149 |
| All my photos | $25 | ₹699 |
| Whole event | $120 | ₹3,999 |
Now say 50 families buy "all my photos" and 30 more buy two single photos each. That's 50 × $25 + 60 × $5 = $1,550 (or 50 × ₹699 + 60 × ₹149 = ₹43,890). With no commission, every one of those payments lands in your account in full; your bank or payment app may charge its usual fees. That's 80 checkouts out of the 250 a year on the Starter plan ($99 a year, 5,000 photos).
Whether 80 of 400 families buy depends on your photos, your prices and how well you put the code in front of people. The structure doesn't change, though: the "all my photos" price should feel like an obvious deal next to buying five singles.
A few pricing rules of thumb:
- Set "all my photos" at roughly four to six single photos. Cheap enough to be the easy yes.
- Price in the guest's currency. You can sell in any of 47 currencies, so a convocation in Pune and a marathon in Ohio each see local prices.
- Add a volume discount if families commonly buy several singles.
- Close sales on a date. An end date ("orders close Sunday") gives people a reason to buy now. The gallery stays open to view afterwards and nothing is deleted.
Where to put the QR code
The QR code works when it's in front of people at the moment they're thinking about photos. That means during and right after the event, not a week later in an email.
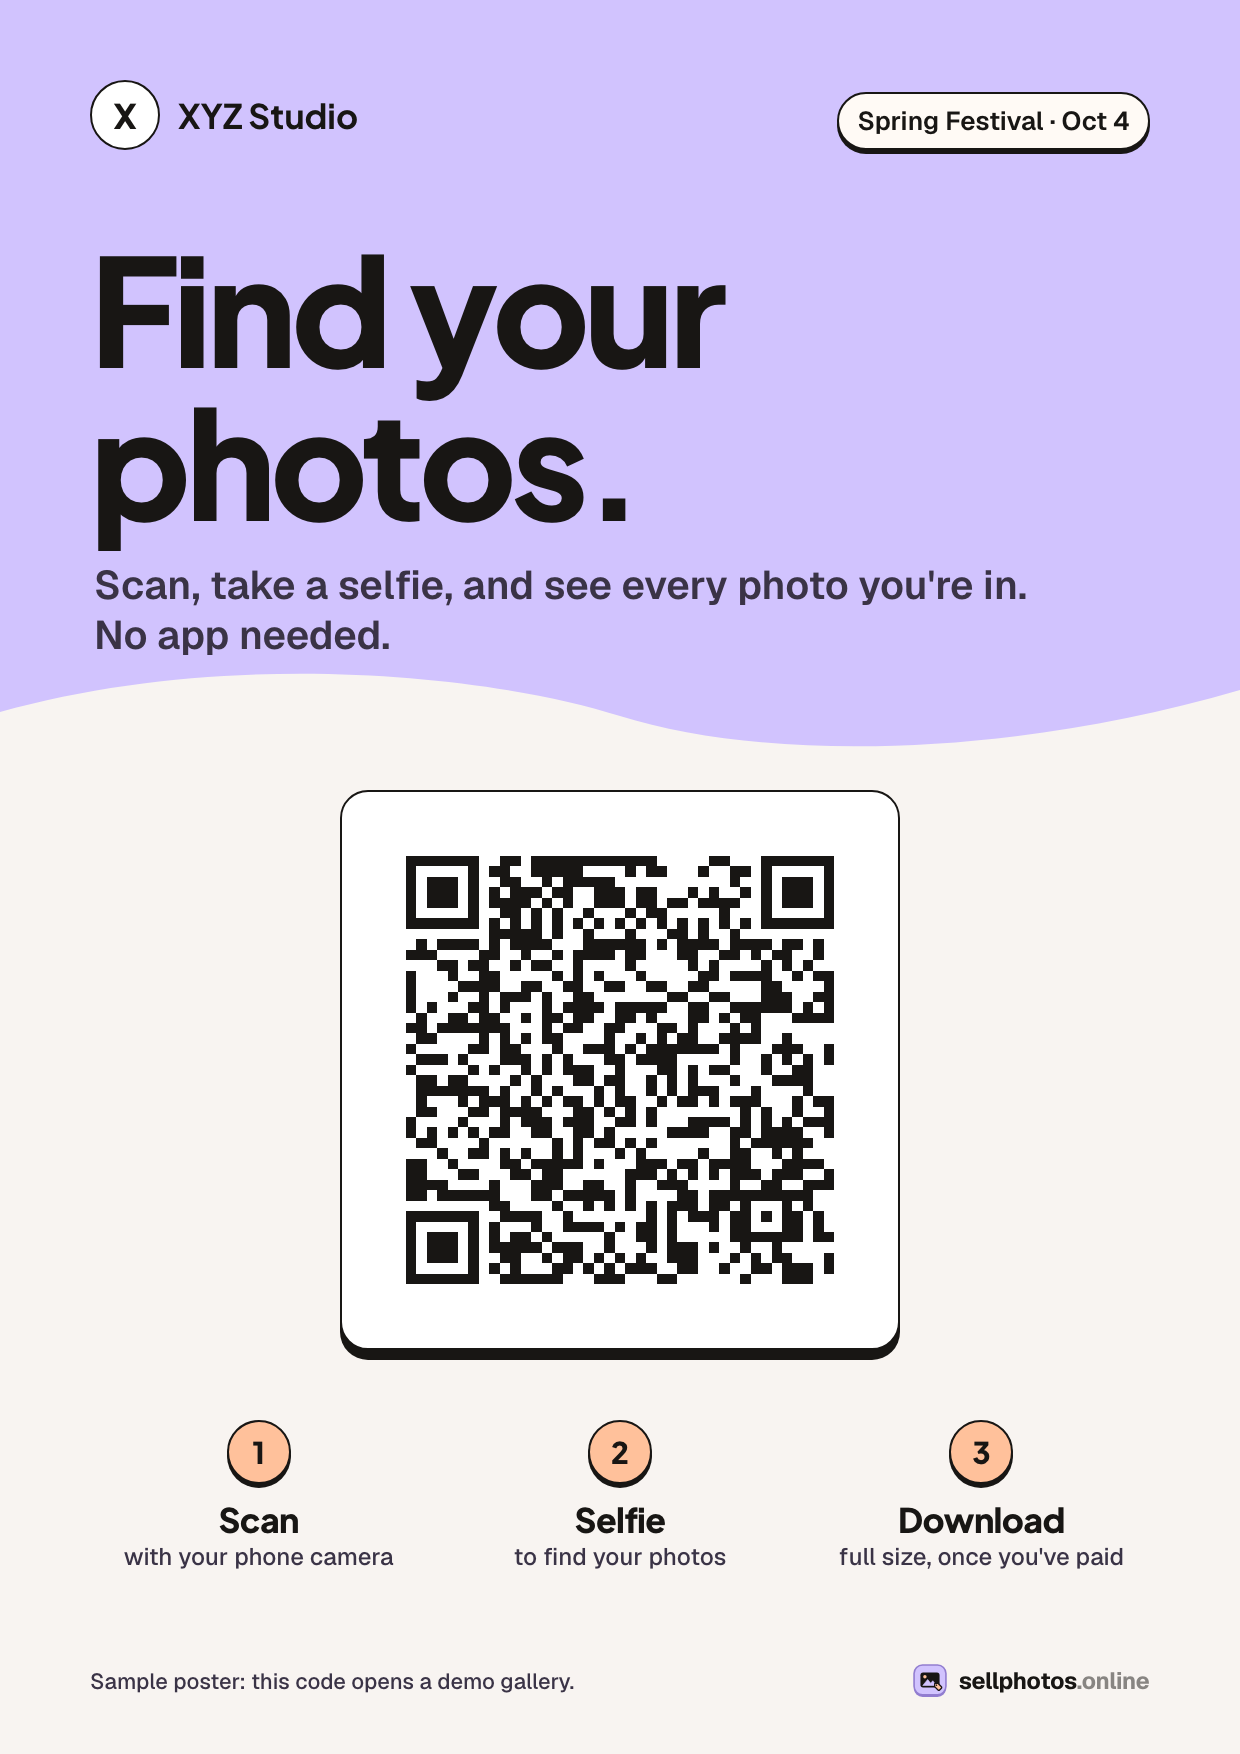
Places that work:
- The entrance and exit. A poster at the gate catches everyone twice.
- The finish line or the podium. At races and sports days, the moment after finishing is when people most want a photo.
- The stage screen at the end. Ask the organiser for 20 seconds at the closing: put the QR on the screen and say "photos are up tonight, scan this now and you'll get them."
- Table cards. At dinners, awards nights and trade-show lounges, a small card on each table.
- The school notice board and newsletter. Parents read the newsletter. A QR printed in it reaches the families who weren't there.
- The WhatsApp or class group. Post the link with one line: "Find your photos with a selfie." Pin it if the group allows.
- Your own business card or lanyard. If guests ask "where will the photos be?", show them.
What to write on the poster
Keep it to three lines and one instruction. Something like:
Find your photos from Sports Day. Scan, take a selfie, see every photo you're in. Photos go up tonight. Orders close Sunday.
Add your studio name and logo so people know who took them. Don't explain the technology; people just need to know what to do.
Handling payments honestly
Because buyers pay you directly, you're the one who confirms payment. The process is simple, but treat it like a till:
- Check your account, not the screenshot. A screenshot is a claim. Approve when the money shows up in your bank or payment app.
- Approve quickly. Buyers are most excited right after they pay. Approving within a few hours is worth the effort. You get an email when a buyer uploads their payment screenshot, so you know when to look.
- Reject clearly if needed. If the payment didn't arrive, reject the order with a short note. The buyer gets an email and can try again.
- Let the reminders work. Unpaid orders get payment reminders and expire after 14 days on their own. You don't need to chase anyone.
This manual step is the trade you make for keeping 100% of each sale with no identity checks or payout schedule. For most event photographers, a few minutes of approvals a day is a good deal.
Day-of checklist
Before the event
- Get the organiser's OK to sell, and agree how the code will be shared (screen, newsletter, group).
- Create the event, set prices and your watermark, and pick listed or unlisted.
- Decide on face search. If it's on, consider "live camera only" for events with children.
- Print the QR poster (A4 or bigger) and a few table cards.
At the event
- Put the posters at the entrance, exit and finish line or stage.
- Ask for the 20 seconds on the closing screen.
- Shoot people, not just the action. Faces sell.
That evening
- Upload, even a first batch. Post the link in the event's group.
- Check new orders and approve paid ones.
Over the next week
- Upload the rest. "All my photos" buyers pick up new matches automatically.
- Send one reminder before orders close.
- Check the event's insights: views, orders per visitor and the most-bought photos tell you what to shoot more of next time.
FAQ
How do I sell photos at an event without a booth?
You don't need one. A QR poster and a line on the closing screen do the job of a booth. Guests buy on their phone, during or after the event, and pay you directly.
How does face recognition for event photos work?
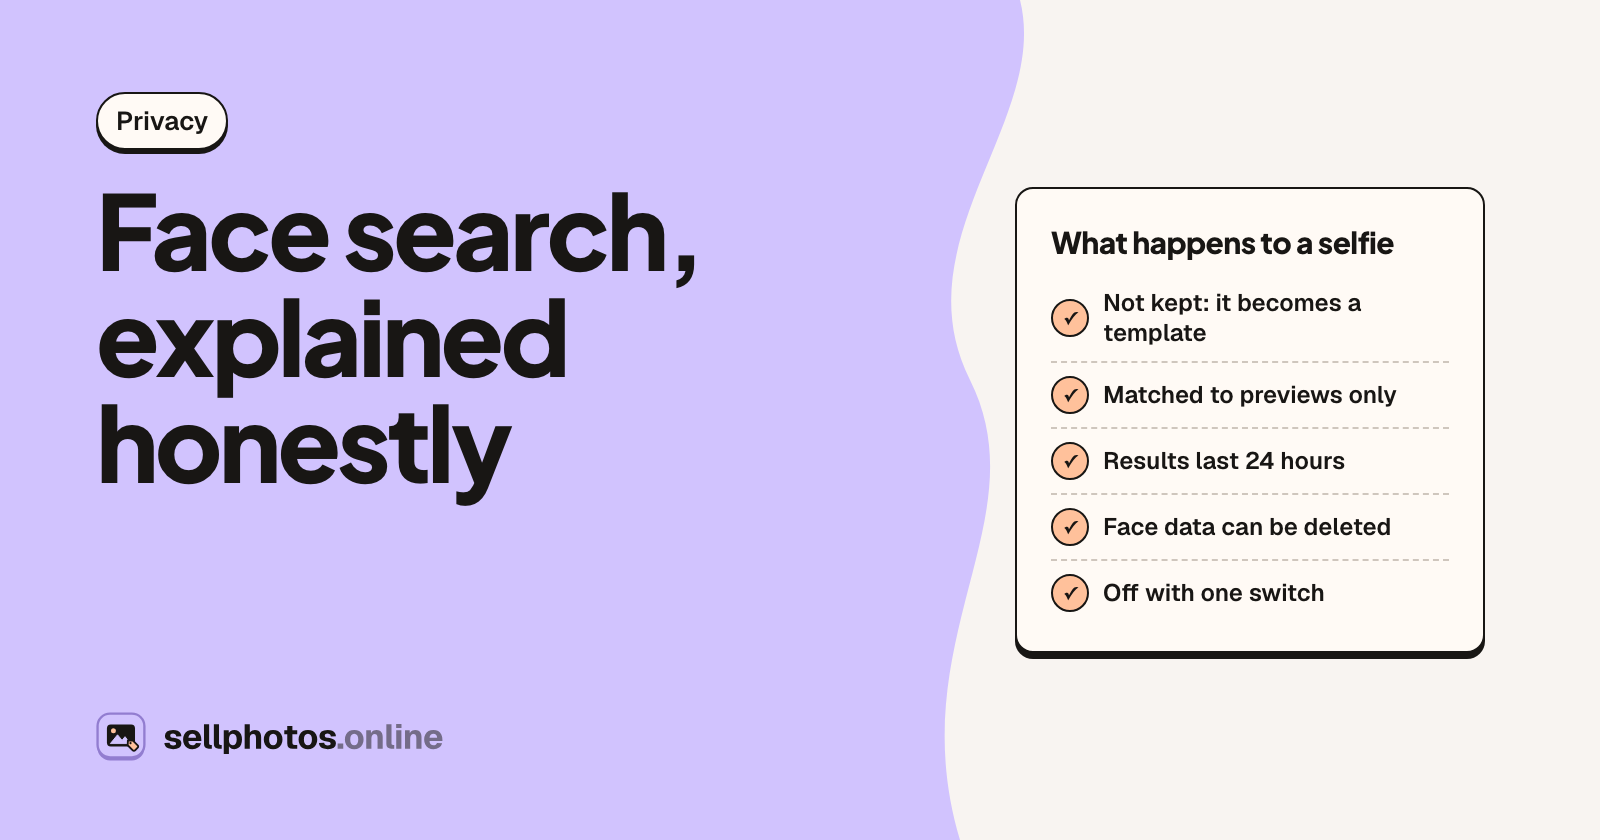
The guest takes a selfie in the gallery. It's turned into a face template and compared only with that event's watermarked previews, never the originals. The selfie photo itself isn't kept, and search results last 24 hours. You can turn face search off for any event, or delete an event's face data.
Do guests need to download an app to find their photos?
No. The gallery opens in the phone's browser from the QR code or link. Guests only sign in, with Google or a one-time email code, when they check out, so their downloads stay in one place.
Is a QR code photo gallery better than a shared Drive folder?
For selling, yes. A Drive folder shows everyone everything, can't take payment, and gives away full-size files. A selling gallery shows watermarked previews, lets each guest find their own photos, and only unlocks originals once you've been paid.
How much should I charge for event photos?
Offer per photo, "all my photos" and whole-event prices, and set "all my photos" at about four to six single photos so it's the easy choice. Price in your guests' currency, and use an end date to give people a reason to buy now.
What if a guest says they paid but I can't see the money?
Don't approve until it arrives. Reject the order with a note if it doesn't, and the buyer gets an email. Unpaid orders expire after 14 days on their own.
Try it on your next shoot
Pick one upcoming event, print one poster, and see how many guests find themselves. Start with the sample gallery to see the guest side, then compare plans when you're ready to set up your store.
About sellphotos.online: an online store for event photos. Upload a shoot, share one link or QR code, and guests find their photos with a selfie and pay you directly, with no commission.